Getting started with RISC-V in QEMU
Don't let a lack of hardware stop you from messing with new hardware.

RISC-V is a shiny new instruction set that’s getting a lot of hype among computer nerds – and not just among internet randos. Western Digital, Alibaba, and MIT, among others, have been working on the platform. But what is it, and how can you play around with it today?
Its claim to fame is that unlike most of the big ISAs out there, like x86, ARM, and AVR, it’s available under a permissive license. Now this isn’t completely unique – for instance, IBM has started opening up its POWER architecture via the OpenPOWER Foundation. And Wave Computing has had an on-again-off-again plan to open up MIPS. But unlike these, RISC-V also has another nerd cred advantage: it’s been designed totally from scratch.
Now I’m not normally one to advocate for designing brand new systems for funsies. But, in chip design, backwards compatibility usually trumps all – if you’re running an x86 machine, you have hardware support for 16-bit addressing, segmentation, and other such fragments of millenia past.
You can actually buy some RISC-V boards today – SiFive has a few offerings. Or you can run a soft core, like SweRV or VexRiscv on an FPGA. But why spend money when you could not spend money? Let’s see how to set up a RISC-V virtual machine with Debian installed.
Setting up QEMU
QEMU (Quick EMUlator) is an open source virtual machine for Linux, Mac, Windows, with ports to various BSDs and sundry as well. It’s super useful since it supports a wide range of guest architectures – x86, the various flavors of ARM, m68k, S390x, and even RISC-V.
For our purposes, we’ll be focusing specifically on RV64GC (64-bit RISC-V with extensions for General purpose and Compressed instructions). This is the target that several Linux distros seem to be targeting.
The QEMU target for RV64GC can be installed through many package managers:
- Arch:
sudo pacman -S qemu-arch-extra - Ubuntu 20.10:
sudo apt install qemu-system-riscv64 - Fedora 33:
sudo dnf install qemu-system-riscv - Alpine:
sudo apk add qemu-system-riscv64
Getting a Debian RISC-V port image
So as far as I’m aware, no Linux distro has an official port for RISC-V yet. Fedora apparently has a port in progress, but let’s be real, Debian is the go-to distro for bizarre architectures.
Download a pre-built Debian RISC-V image:
wget "https://gitlab.com/api/v4/projects/giomasce%2Fdqib/jobs/artifacts/master/download?job=convert_riscv64-virt" -O debian-rv64.zip
Unpack the files:
mkdir debian-rv64
cd debian-rv64
unzip ../debian-rv64.zip
cd artifacts
Get the OpenSBI and U-Boot binaries
OpenSBI is a standardized piece of glue for RISC-V platforms to switch from firmware mode (M-Mode) up to the kernel layer (S-Mode). Its source code is available here, and a high-ish level overview of the RISC-V boot process is available here.
U-Boot is an open source bootloader which supports a wide variety of architectures, including, but not limited to, RISC-V.
For Ubuntu 20.10 and Debian unstable, this is fairly straightforward:
sudo apt install u-boot-qemu opensbi
For Arch Linux, it’s less straightforward. OpenSBI comes as part of
qemu-arch-extra, and is installed at
/usr/share/qemu/opensbi-riscv64-generic-fw_dynamic.elf.
I was unable, however, to find an equivalent package for u-boot-qemu. I ended
up just downloading and extracting the binary from the Debian package.
# Grab the URL from https://packages.debian.org/sid/u-boot-qemu
wget "http://ftp.us.debian.org/debian/pool/main/u/u-boot/u-boot-qemu_2021.01+dfsg-2_all.deb" -O u-boot-qemu.deb
mkdir u-boot-qemu
cd u-boot-qemu
ar -x ../u-boot-qemu.deb
tar xvf data.tar.xz
cp ./usr/lib/u-boot/qemu-riscv64_smode/uboot.elf ./uboot.elf
Make an overlay image
While not strictly required, this lets you reset the machine to a clean state when you inevitably break something.
qemu-img create -o backing_file=image.qcow2,backing_fmt=qcow2 -f qcow2 overlay.qcow2
Boot the damn thing
On Arch:
qemu-system-riscv64 \
    -machine virt \
    -cpu rv64 \
    -m 1G \
    -device virtio-blk-device,drive=hd \
    -drive file=overlay.qcow2,if=none,id=hd \
    -device virtio-net-device,netdev=net \
    -netdev user,id=net,hostfwd=tcp::2222-:22 \
    -bios /usr/share/qemu/opensbi-riscv64-generic-fw_dynamic.elf \
    -kernel ./u-boot-qemu/uboot.elf \
    -object rng-random,filename=/dev/urandom,id=rng \
    -device virtio-rng-device,rng=rng \
    -append "root=LABEL=rootfs console=ttyS0" \
    -nographic
On Debian or Ubuntu:
qemu-system-riscv64 \
    -machine virt \
    -cpu rv64 \
    -m 1G \
    -device virtio-blk-device,drive=hd \
    -drive file=overlay.qcow2,if=none,id=hd \
    -device virtio-net-device,netdev=net \
    -netdev user,id=net,hostfwd=tcp::2222-:22 \
    -bios /usr/lib/riscv64-linux-gnu/opensbi/generic/fw_jump.elf \
    -kernel /usr/lib/u-boot/qemu-riscv64_smode/uboot.elf \
    -object rng-random,filename=/dev/urandom,id=rng \
    -device virtio-rng-device,rng=rng \
    -append "root=LABEL=rootfs console=ttyS0" \
    -nographic
A teardown of this flag menagerie:
-cpu rv64: Emulate RISC-V 64-bit.-m 1G: 1 GB of RAM. Tweak as needed.-netdev user,id=net,hostfwd=tcp::2222-:22: Make port 22 accessible as localhost:2222. This lets us forward SSH connections.-bios /usr/share/qemu/opensbi-riscv64-generic-fw_dynamic.elf: If needed, replace with the location of your OpenBSI. But make sure it’s the same configuration.-kernel ./u-boot-qemu/uboot.elf: Replace with the path to your U-Boot image.-nographic: Run in serial TTY mode. This should give you decently-accurate terminal emulation.
The image is configured with two accounts: debian (password: debian) and
root (password: root).
SSH access
The image runs sshd by default, which is nice because it lets you get comfier
terminal access.
Note that in this mode, you may want to replace -nographic with -daemonize,
which makes qemu run nicely in the background.
You can log in using either username/password:
ssh debian@localhost -p 2222
Or using one of the SSH keys included with the image:
chmod 600 ssh_user_ed25519_key
ssh debian@localhost -p 2222 -i ssh_user_ed25519_key
Playing around
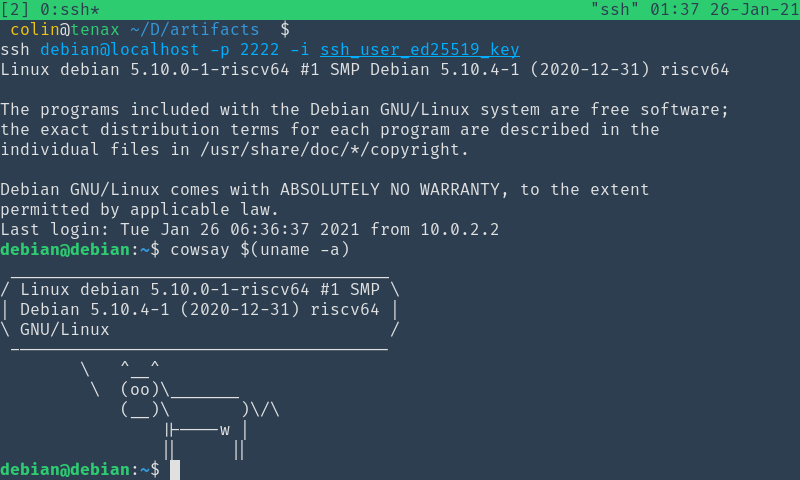
The world is now your oyster. I was actually surprised at how complete the package offering seems to be. You can install OpenJDK, GCC, git, and most importantly, cowsay. I did have some issues installing vim, but thankfully, neovim was installable without a hitch.
Hopefully this was informative, and best of luck with your real fake hardware!